
Embrace the Thrill of Winter Fat Biking
Discover essential tips for winter fat biking, from selecting the perfect bike to mastering snowy trails safely and confidently.

Prepare Your Gear and Dress in Layered, Weatherproof, Breathable Clothing
Learn Trail Techniques to Navigate Snow and Ice Effectively
Follow Safety Practices to Enjoy Winter Rides Worry-Free
Ensure you choose the Right Fat Bike with Wide Tires for Snow (typically 3.5″ or wider).
Mastering Winter Fat Biking: Tips for Snow Trail Success
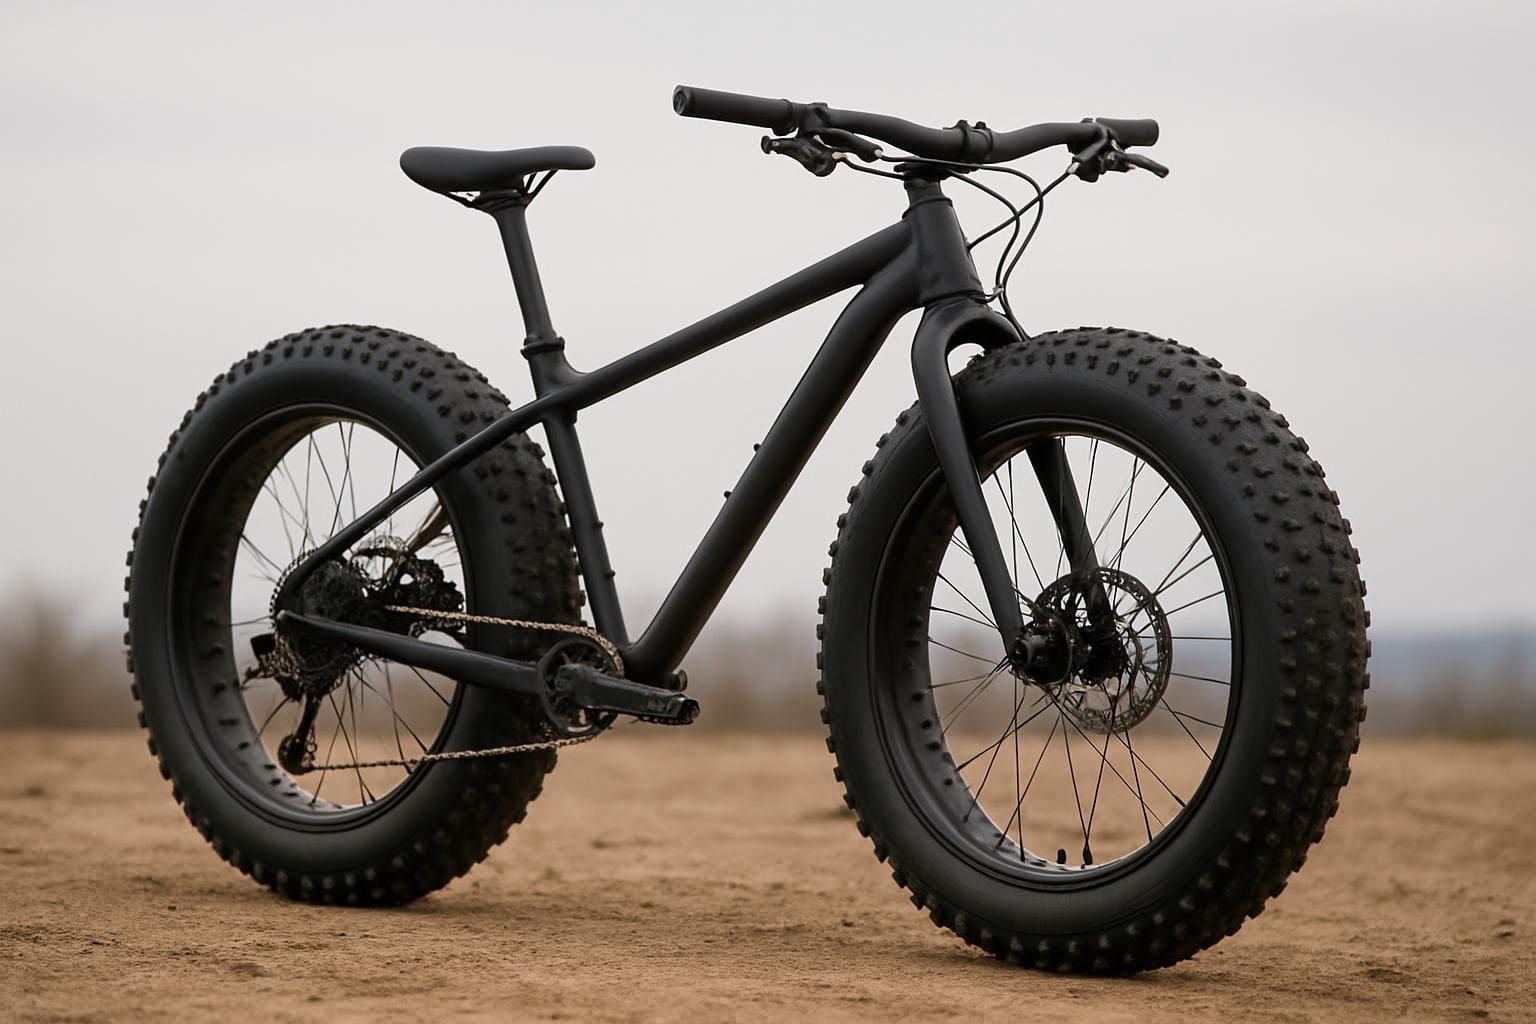
Choosing Your Snow Steed: It’s All About the Contact Patch
Buying a fat bike isn’t quite the same as buying a summer road or mountain bike. In the winter, speed takes a backseat to flotation and grip. If you are looking to invest in a fat bike, or just renting for the weekend, here are the critical factors that determine whether you float over the snow or sink into it.
- Tire Width: The “Float” Factor
The defining feature of a fat bike is the tire, but size matters.
4.0 Inches (The All-Rounder): These are lighter and faster. They are great for groomed, hard-packed trails (like the SJAM/Kichi Sibi in Ottawa). However, they can struggle when the snow gets soft or fresh.
4.5 – 5.0 Inches (The Powder Hounds): For true Canadian winters, “wider is wider.” A 5-inch tire offers maximum surface area, allowing you to float over soft snow that would swallow a smaller tire. If you plan to explore backwoods trails or ride immediately after a snowstorm, go big.
- Traction: To Stud or Not to Stud?
In a climate with freeze-thaw cycles (where snow melts during the day and freezes into an ice rink at night), rubber alone isn’t enough.
Studded Tires: Highly recommended for consistent riding. They provide metal claws that bite into ice, giving you the confidence to corner and brake without sliding out.
Tire Pressure (PSI): This is the secret sauce. The best tire in the world is useless if fully inflated. You need to run incredibly low pressure—often between 3 and 5 PSI. This allows the tire to flatten out like a pancake, gripping the terrain like a tank tread.
- The Frame: Clearance and Q-Factor
The frame needs to accommodate those massive tires while keeping you comfortable.
Tire Clearance: Make sure the frame (specifically the rear triangle and fork) is wide enough to fit a 5-inch tire. Some older or cheaper models max out at 4 inches, limiting your upgrades later.
Q-Factor (Stance Width): Because the tires are wide, the pedals must be further apart. This is called the “Q-Factor.” If you have bad knees or hips, test ride the bike first to ensure the wider stance doesn’t cause discomfort during long rides.
The Bottom Line
The right fat bike acts as an equalizer. With the proper tire width for flotation and studs for ice, you stop fighting the terrain and start flowing with it. It turns a “struggle-fest” into a smooth, stable adventure.
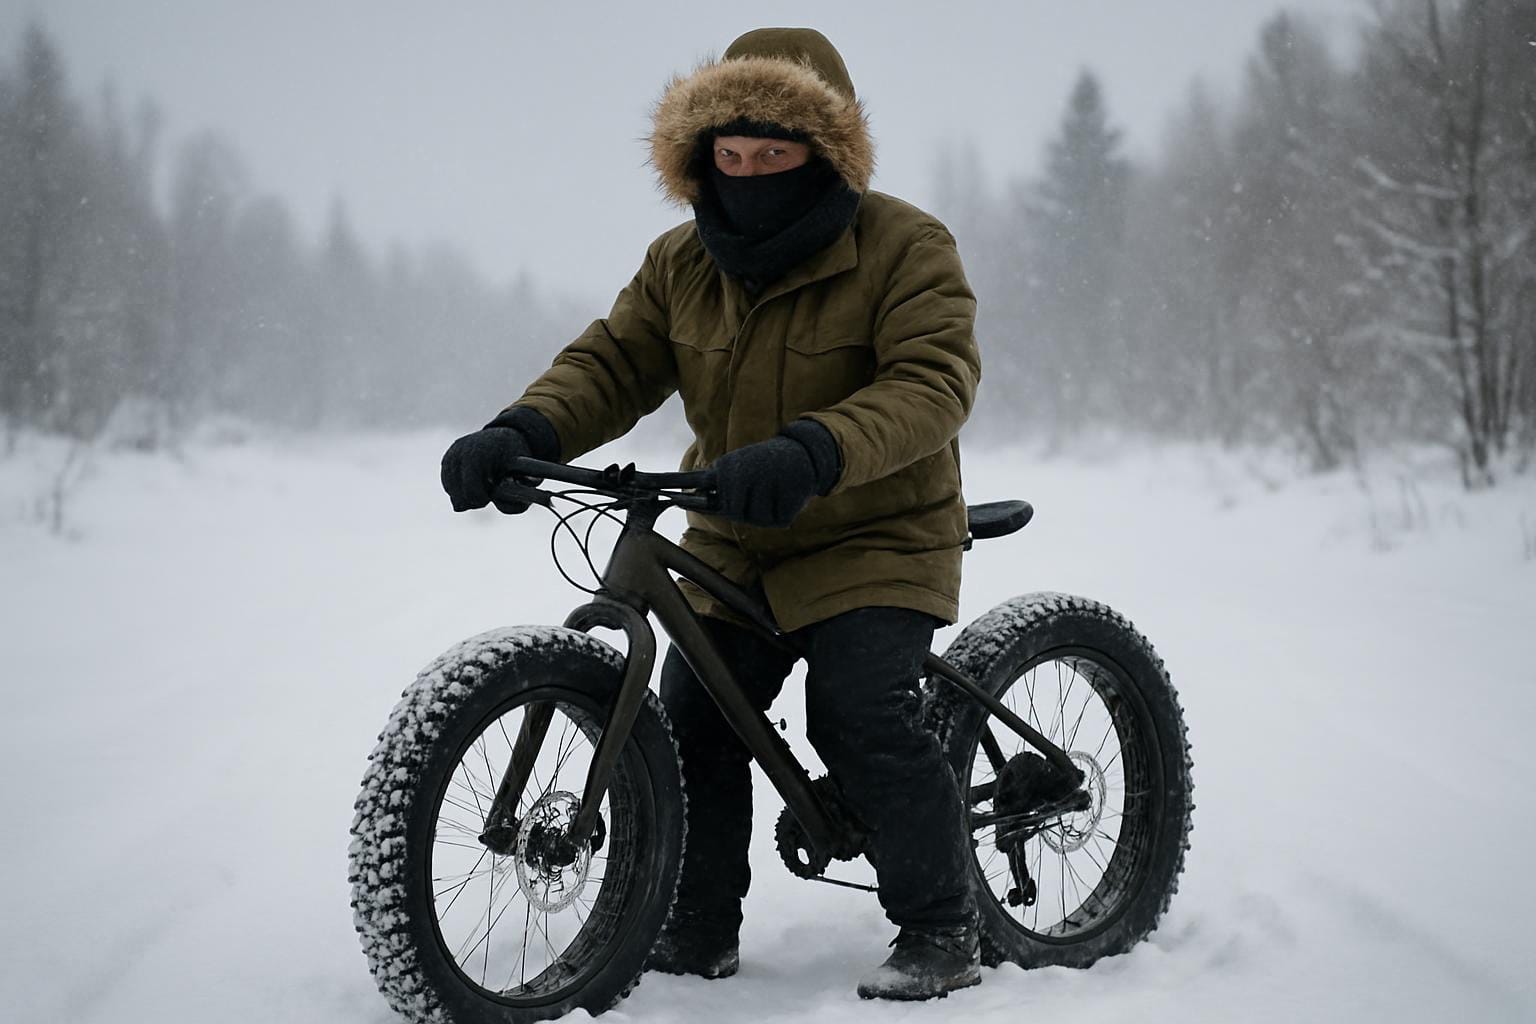
Mastering the Art of Thermal Regulation
The golden rule of fat biking is “Be Bold, Start Cold.” If you are toasty warm standing in the parking lot, you are overdressed. Once you start pedaling, your body generates massive heat; if that heat turns to sweat and gets trapped against your skin, it will eventually freeze, leading to dangerous chills. The strategy is a three-part system: a moisture-wicking base layer (merino wool or synthetic, never cotton), a breathable mid-layer for insulation, and a wind-breaking outer shell that you can unzip to dump heat on climbs.
Protecting the Extremities
Your core will likely stay warm, but your fingers and toes are the first to suffer. For your hands, “Pogies” (handlebar mitts that stay attached to the bike) are superior to heavy gloves because they create a microclimate for your hands while maintaining dexterity for braking and shifting. For your feet, choose winter-specific cycling boots or quality hiking boots paired with wool socks. Ensure your boots aren’t too tight; you need an air gap around your toes to trap heat.
Cold-Weather Mechanical Checks
Your bike behaves differently in sub-zero temperatures.
Tire Pressure Drop: Air compresses in the cold. If you inflate your tires inside a warm house, they will lose pressure once you hit the freezing trail. Always bring a low-pressure gauge and a hand pump to adjust on the fly.
Lubrication: Standard summer chain lube can turn into a gummy wax in the cold, causing chain suck. Switch to a wet, winter-specific chain lube to keep your drivetrain running smoothly.
Hydration: Water freezes in hose lines instantly. If you use a hydration pack, wear it under your jacket, or switch to insulated bottles kept upside down (so the lid doesn’t freeze shut).
Safety on Snowy Trails
Adjusting Your Riding Technique
Winter terrain is unpredictable. The primary safety adjustment is weight distribution. Unlike summer riding where you might lean forward to attack a climb, fat biking requires you to keep your weight centered or slightly back over the rear wheel. This keeps traction on the drive tire while allowing the front tire to float over obstacles rather than digging in and sending you over the handlebars. Additionally, brake with caution: avoid grabbing the front brake hard on icy or cornering sections, as this will cause an immediate washout. Rely more on your rear brake to scrub speed.
Reading the Trail and Conditions
Snow can hide hazards that are obvious in summer. Be hyper-aware of “tramlining”—getting your wheel caught in a frozen rut hidden by a dusting of fresh snow, which can twist the handlebars unexpectedly. Also, learn to spot the difference between “grippy” hard-packed snow and the sheen of glare ice. If you hit a patch of ice, the safest move is to stop pedaling, stop braking, and coast in a straight line until your tires find texture again.
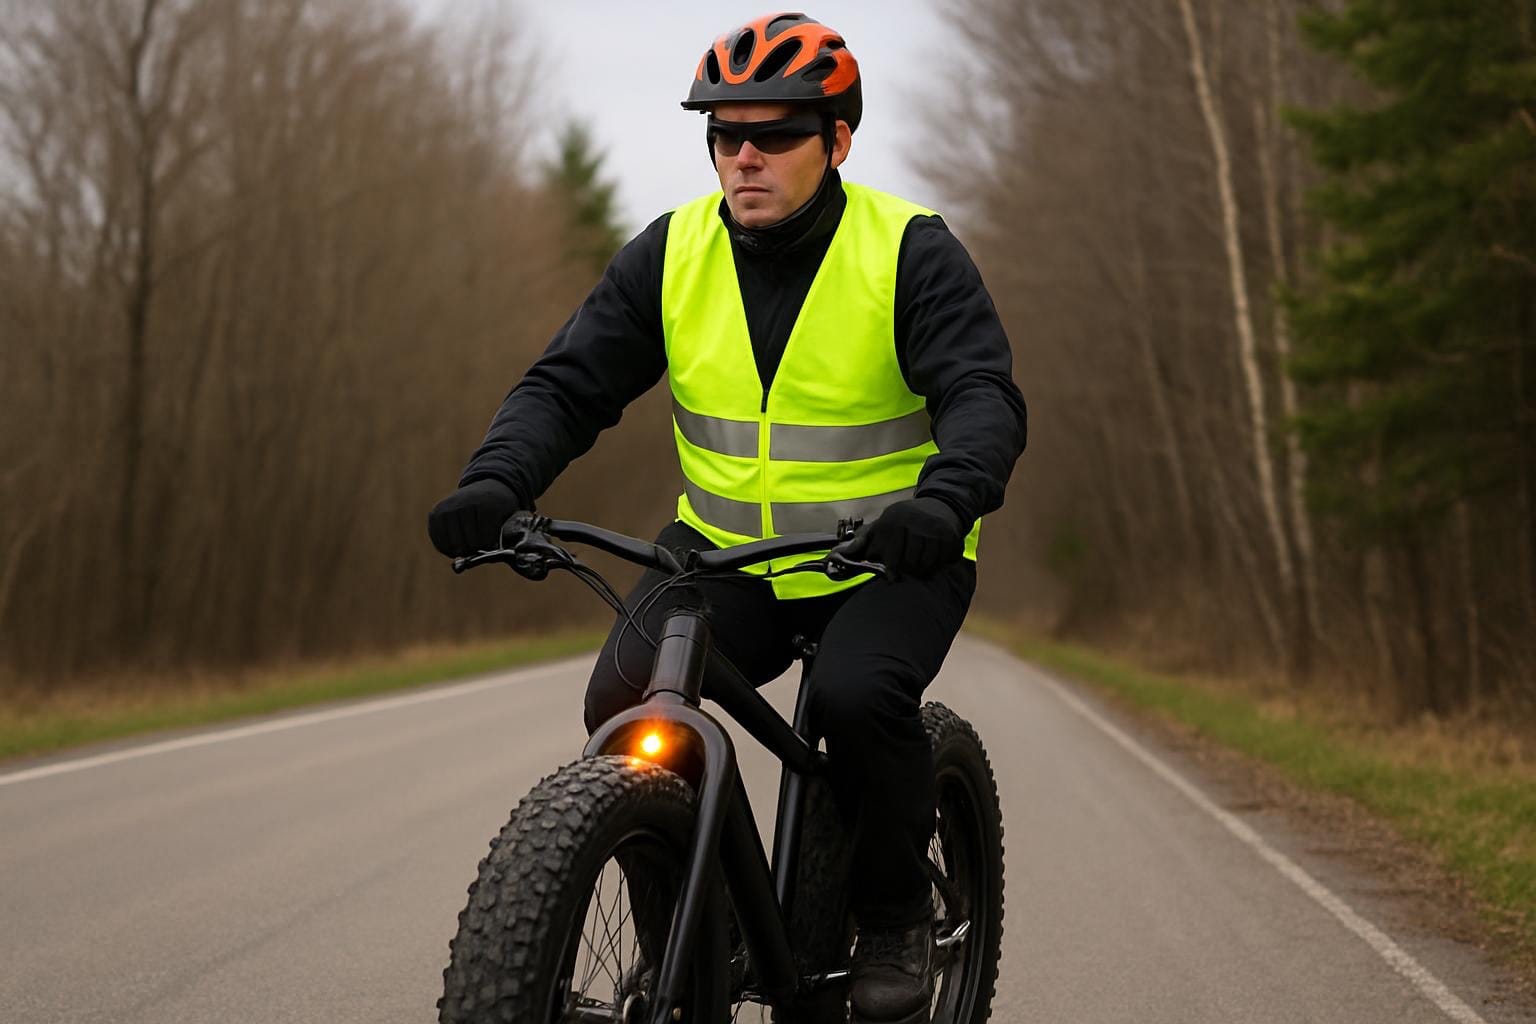
Visibility and Self-Reliance
Winter days are short, and twilight drops temperatures rapidly.
Light It Up: Even for a midday ride, carry a high-lumen front light and a rear blinker. Overcast winter days can be dim, and mechanical issues might push your ride past sunset.
Battery Management: Cold drains batteries instantly. Keep your phone (your lifeline) in an interior pocket close to your body heat.
The Solo Rule: If riding alone, tell someone your route and return time. In sub-zero temperatures, a minor mechanical issue that forces you to walk can escalate into a hypothermia risk much faster than in summer.
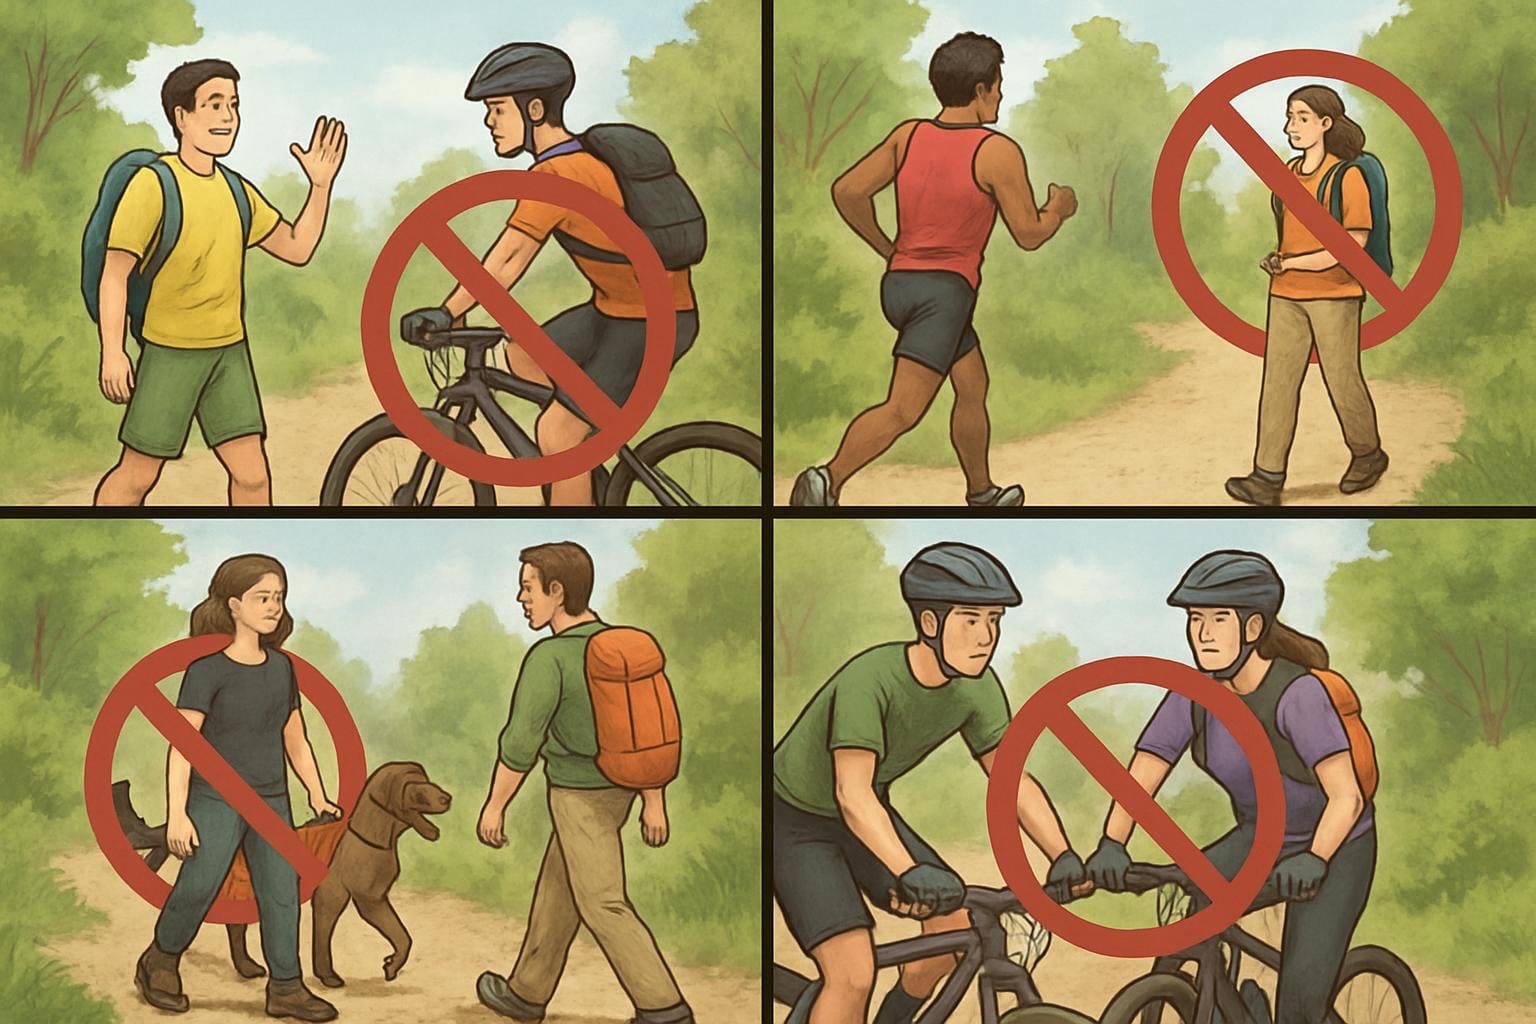
Shared Trail Etiquette
Yielding and Awareness
On multi-use winter trails, the general hierarchy is “Wheels Yield to Heels and Skis.” Cross-country skiers have limited braking power and maneuverability compared to a bike. Always slow down when approaching others, use a bell or a friendly voice to announce your presence, and be prepared to step off the trail into the soft snow to let skiers or snowshoers pass safely.
Ski Tracks are Lava
Never, under any circumstances, ride inside the classic cross-country ski tracks (the set parallel grooves). Destroying these tracks is a major faux pas that creates significant friction between skier and biker communities. Stay strictly in the wide, flat “skate lane” or the dedicated fat bike singletrack.